
#6.15, #6.16 Creating a Video
extends base.pug

block content
    form(method='POST')
        input(name='title', placeholder='Title',type='text',required)
        input(name='description', placeholder='Description',type='text',required)
        input(name='hashtags', placeholder='Hashtags separated by comma',type='text',required)
        input(type='submit',value='Upload')
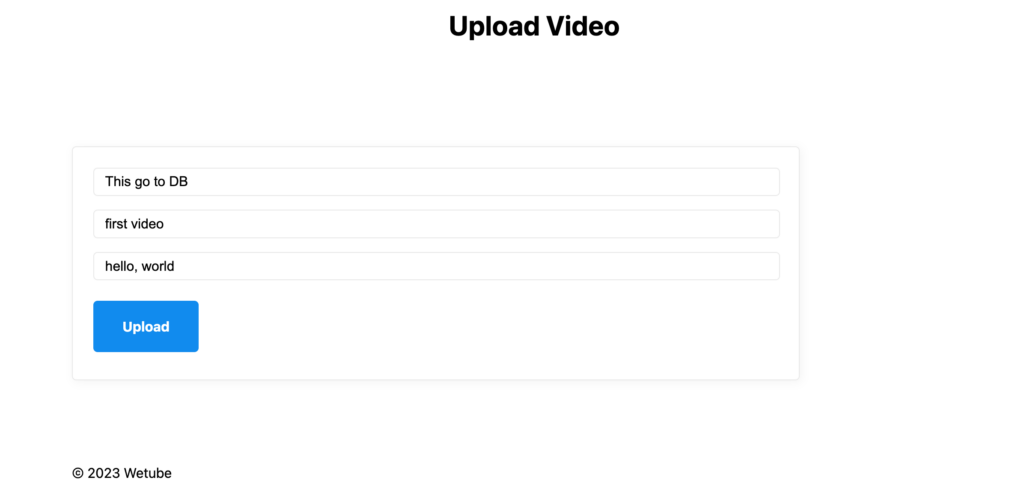
schema에 맞게 upload.pug를 수정해주었다.
export const postUpload = (req, res) => {
const {title, description, hashtags} = req.body;
const video = new Video({
title,
description,
createdAt: Date.now(),
hashtags: hashtags.split(",").map((word)=>`#${word}`),
meta:{
views: 0,
rating: 0,
}
});
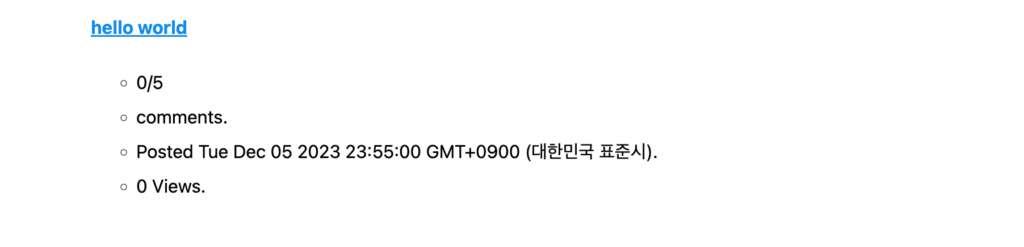
console.log(video)
return res.redirect('/');
};
그리고 videocontroller.js의 함수를 수정해주었다. Video.js에 정의한 Video 객체에 request로 얻은 인자들을 넣어주는 것이다.
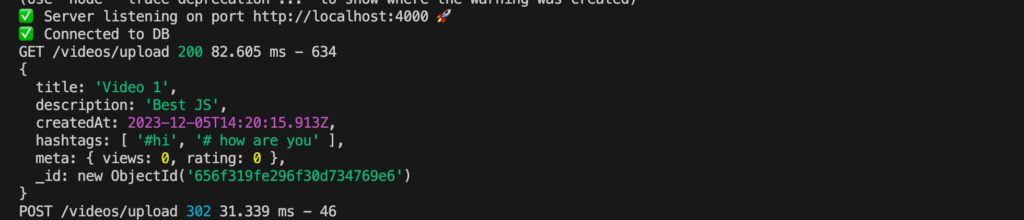
위와 같이 저장되는 것을 확인할 수 있다. 그런데 이것은 아직 실제 db 상에 올라간 것은 아니다!
_id : mongoose에서 부여해준 고유 식별자
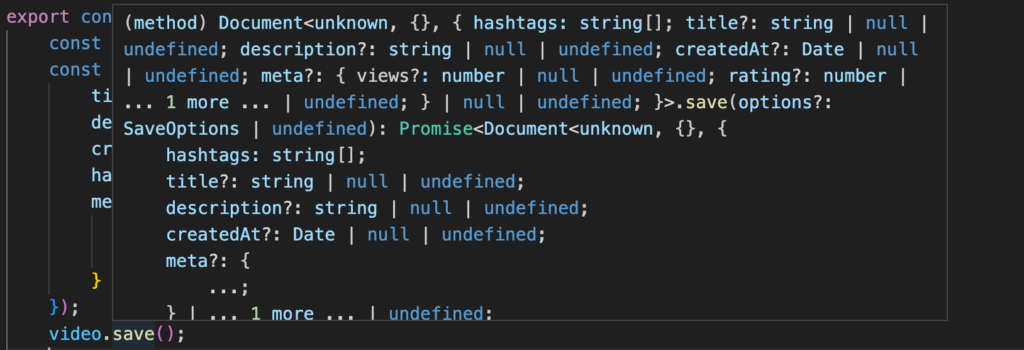
video.save()는 실제 db에 올려주는 것이다.
그리고 Promise로 되어있으므로 실제 파일이 올라갈 떄까지 기다려주게 된다.
따라서 const dbVideo = await video.save()로 수정해줘야 한다.
또 다른 방법으로, Video.create()를 바로 사용하는 방법도 있다.
const {title, description, hashtags} = req.body;
    await Video.create({
        title,
        description,
        createdAt: Date.now(),
        hashtags: hashtags.split(",").map((word)=>`#${word}`),
        meta:{
            views: 0,
            rating: 0,
        }
    });
#6.17, #6.18 Exceptions and Validation
이제 에러를 처리해주도록 하자.
schema의 데이터 형식과 맞지 않거나, required인데 데이터가 없는 경우 에러가 발생할 수 있다.
export const postUpload = async(req, res) => {
    const {title, description, hashtags} = req.body;
    try{
        await Video.create({
        title,
        description,
        //createdAt: Date.now(),
        hashtags: hashtags.split(",").map((word)=>`#${word}`),
        meta:{
            views: 0,
            rating: 0,
        }
    });}catch(err){
        console.log(err);
        return res.render("upload",{pageTitle: 'Upload Video', errorMessage: err._message});
    }

    return res.redirect('/');
};
다음과 같이 try, catch 구문을 활용하여 에러를 처리해주었다.
const videoSchema = new mongoose.Schema({
    title: String,
    description: String,
    createdAt: {type: Date, required: true},
    hashtags: [{type: String}],
    meta:{
        views: Number,
        rating: Number
    }
})
Video.js를 다음과 같이 바꿔주고,

createdAt에 아무값도 안 넣어줬더니 위와 같이 에러메세지가 출력되었다.
const videoSchema = new mongoose.Schema({
    title: String,
    description: String,
    createdAt: {type: Date, required: true, default: Date.now},
    hashtags: [{type: String}],
    meta:{
        views: Number,
        rating: Number
    }
})
createdAt을 default에 Date.now로 하고 videocontroller.js에서 없애보았다.
알아서 잘 들어간다.
주의!!! Date.now()로 넣어주면 함수가 바로 실행되므로 시간이 안 맞을 수 있다.
Date.now만 넘겨주면 mongoose에서 알아서 실행될 때 함수를 실행시켜준다.
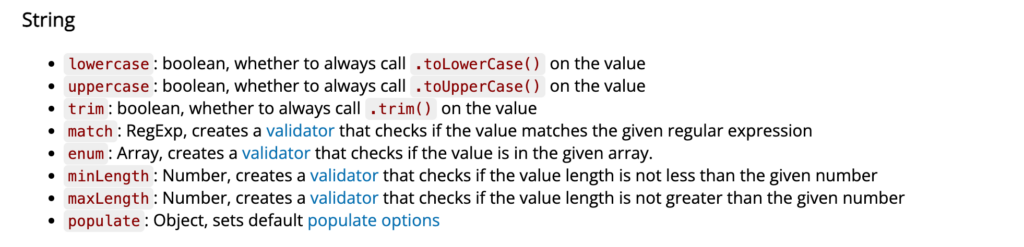
추가로, schema에서 String 데이터들에는 줄 수 있는 옵션이 더 있다.
const videoSchema = new mongoose.Schema({
    title: { type: String, required: true, trim: true, maxLength: 80},
    description: { type: String, required: true, trim: true, minLength: 20},
    createdAt: {type: Date, required: true, default: Date.now},
    hashtags: [{type: String, required: true, trim: true} ],
    meta:{
        views: {type: Number, default: 0},
        rating: {type: Number, default: 0},
    }
})
옵션들을 활용해서 schema를 조금 더 구체적으로 적어주었다.
default 값들도 넣어주고, title, description에는 trim과 min/maxLength도 설정해주었다.
그리고 이는 html에도 추가해줘야 한다.
extends base.pug

block content
    if errorMessage
        span=errorMessage
    form(method='POST')
        input(name='title', placeholder='Title',type='text',required, maxLength: 80)
        input(name='description', placeholder='Description',type='text',required, minLength: 20)
        input(name='hashtags', placeholder='Hashtags separated by comma',type='text',required)
        input(type='submit',value='Upload')
만약 html에서만 min/maxLength를 설정해주고 db에서는 설정을 하지 않는다면, 해킹을 통해 html을 조작하여 악의적인 행동이 가능하게 된다.
#6.19 Video Detail
mongoDB에 데이터를 추가하면 자동으로 특정 해쉬값을 가진 id를 생성해준다.
그런데 우리는 mixin에서 url에 id로 접근하는 것으로 만들었고, 그때 당시에 숫자만 가능하게 만들었다.
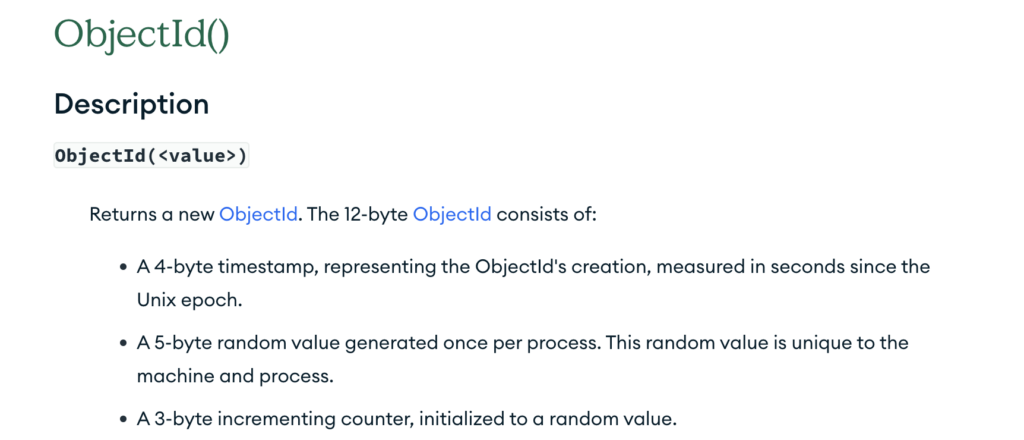
mongoDB docs에 따르면 ID는 위처럼 선언되는 것을 알 수 있다.
videoRouter.route("/:id([0-9a-f]{24})").get(watch);
따라서 위와 같이 정규표현식을 적어주었다. 0-f 중 하나의 byte로 24개의 문자를 가져야 한다는 의미이다.
이제 videocontroller.js의 watch 함수를 바꿔주자.
우리는 Video.findByID 옵션을 사용할 수 있다.
export const watch = async(req, res) => {
    const { id } = req.params;
    const video = await Video.findById(id);
    console.log(video);
    return res.render("watch", {pageTitle: video.title, video})
};
위와 같이 바꿔주었다.
extends base.pug

block content
    div
        p=video.description
        small=video.createdAt
    a(href=`${video.id}/edit`) Edit Video →
watch.pug 역시 바꿔주면,
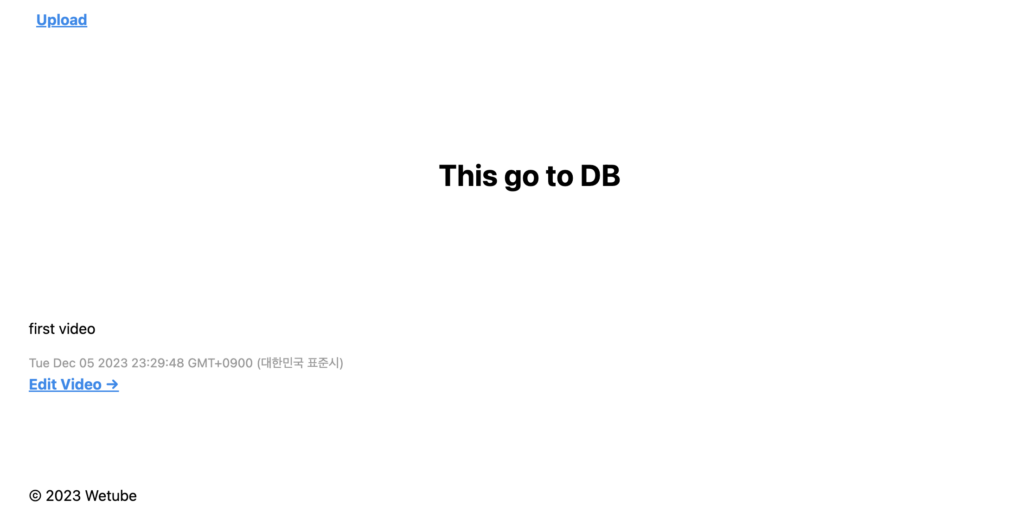
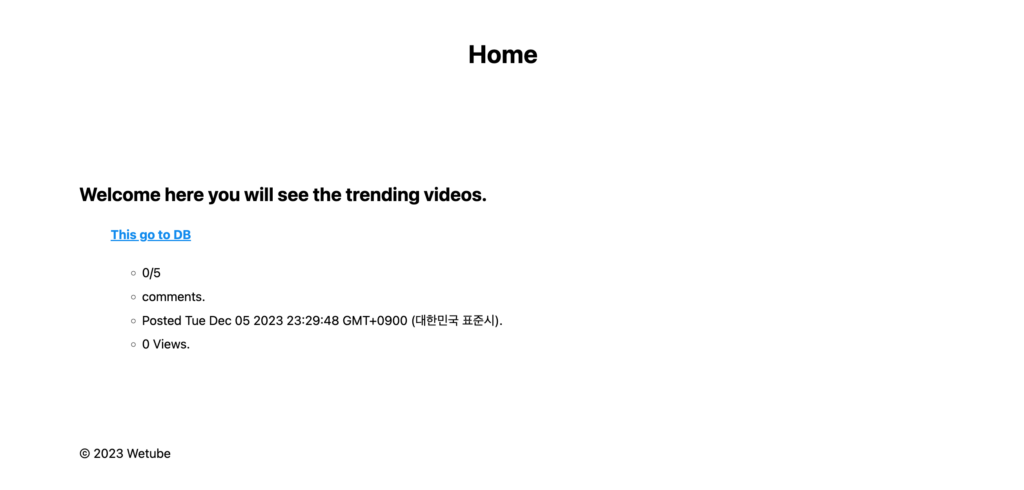
다음과 같이 나타나는 것을 확인할 수 있다!
#6.20, #6.21, #6.22 Edit Video
만약 존재하지 않는 id로 접근해서 비디오를 불러오게 된다면 어떻게 될까?
const video = await Video.findById(id); 에서 null을 반환한다.
따라서 이를 if, else 구문을 활용하여 에러를 처리해주었다.
export const watch = async(req, res) => {
    const { id } = req.params;
    const video = await Video.findById(id);
    if(!video){
        return res.render("404", {pageTitle: "Video Not Found."});
    }
    return res.render("watch", {pageTitle: video.title, video});
};
꿀 TIP! error를 if문 안에서 처리해주고, 나머지는 if문 바깥에서 처리하자.
→ 에러 체크를 먼저 해주자.
그리고 404.pug도 새로 만들어줬다. 다른 태그는 넣지 않고 그냥 base.pug만 extends 해줬다.
이제 Edit page를 바꿔보자.
export const getEdit = async(req, res) => {
    const { id } = req.params;
    const video = await Video.findById(id);
    if(!video){
        return res.render("404", {pageTitle: "Video Not Found."});
    }
    return res.render("edit", {pageTitle: `Editing ${video.title}`,video});
};
위와 같이 getEdit 함수를 수정해주었다. watch 함수와 거의 비슷하다.
extends base.pug

block content
    h4 Change Title of Video
    form(method="POST")
        input(name='title', placeholder='Video title',value=`${video.title}`,required)
        input(name='description', placeholder='Description',type='text',required, minLength: 20, value=video.description )
        input(name='hashtags', placeholder='Hashtags separated by comma',type='text',required, value=video.hashtags.join())
        input(value='Send',type='submit')
edit.pug는 위와 같이 수정해주었다. upload.pug와 거의 비슷한데, input 칸에 preloading될 값들을 추가해주었다.
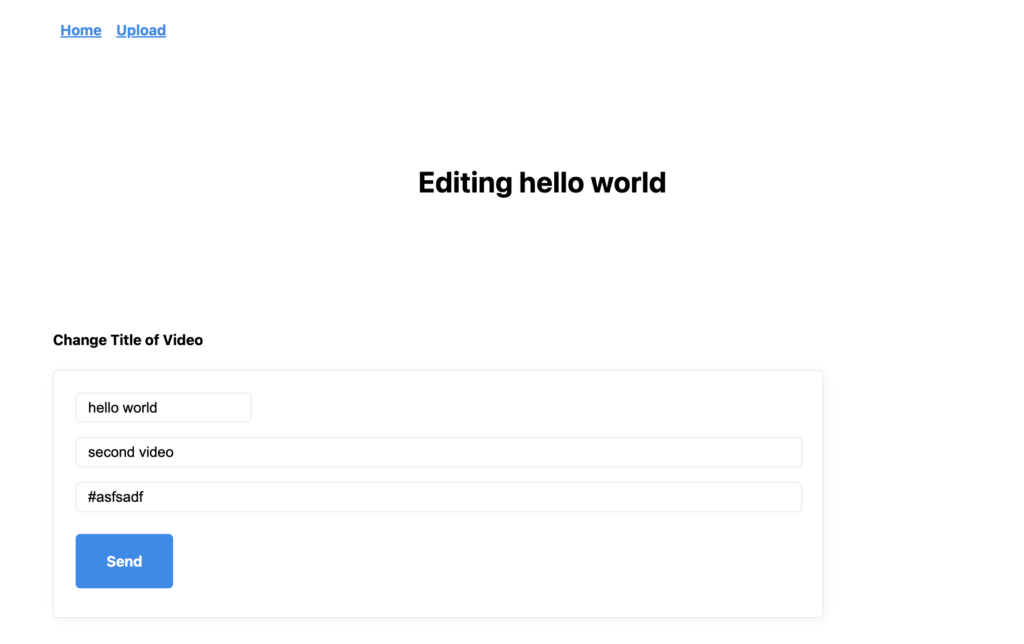
성공!
이번에는 postEdit 함수를 수정해보자.
export const postEdit = async(req, res) => {
    const { id } = req.params;
    const {title, description, hashtags} = req.body;
    const video = await Video.findById(id);

    video.title = title;
    video.description = description;
    video.hashtags = hashtags.split(",").map((word)=> word.startWith('#') ? `${word}` : `#${word}`);
    video.save();

    return res.redirect(`/videos/${id}`);
};
일단 에러처리는 생각하지 않고 위와 같이 수정해주었다. postUpload 함수와 비슷하게 구현해준 것이다.
그런데 위와 같은 방법으로 수정하려면 계속 js 코드를 반복해서 써줘야 한다.
따라서 우리는 model 객체의 function을 사용해서 이를 조금 더 보기 좋게? 만들어줄 수 있다.
findByIdAndUpdate() 함수를 사용한 예시는 다음과 같다.
export const postEdit = async(req, res) => {
    const { id } = req.params;
    const {title, description, hashtags} = req.body;
    const video = await Video.findById(id);
    if(!video){
        return res.render("404", {pageTitle: "Video Not Found."});
    }

    await Video.findByIdAndUpdate(id,{
        title,
        description,
        hashtags: hashtags.split(",").map((word)=> word.startsWith('#') ? `${word}` : `#${word}`)
    })

    return res.redirect(`/videos/${id}`);
};
그런데 이렇게 되면 굳이 video Object를 가져올 필요가 없어진다. 단지 존재하는지 아닌지만 확인하면 된다!
따라서 findById 대신 exists를 사용해줄 수 있다.
export const postEdit = async(req, res) => {
    const { id } = req.params;
    const {title, description, hashtags} = req.body;
    const video = await Video.exists({_id: id});
    if(!video){
        return res.render("404", {pageTitle: "Video Not Found."});
    }

    await Video.findByIdAndUpdate(id,{
        title,
        description,
        hashtags: hashtags.split(",").map((word)=> word.startsWith('#') ? `${word}` : `#${word}`)
    })

    return res.redirect(`/videos/${id}`);
};
아직도 고쳐줄 부분이 있다. 바로 hashtags를 처리해주는 부분이다.
해당 부분은 길기도 길지만, 영상을 업데이트함과 동시에 hashtags 인자에 뭔가를 해주고 있는 것이기에 보기에 썩 좋지 않다.
우리가 원하는 것은 영상을 업로드 혹은 업데이트하기 이전에 처리를 먼저 해주고, 그 이후에 처리된 결과를 업로드, 업데이트에 반영해주는 것이다.
이것을 위해 사용할 것은 Middleware이다.
#6.23 Middlewares
중요!! Middleware는 반드시 Model이 생성되기 전에 이루어져야 한다!!
import mongoose from "mongoose";

const videoSchema = new mongoose.Schema({
    title: { type: String, required: true, trim: true, maxLength: 80},
    description: { type: String, required: true, trim: true, minLength: 20},
    createdAt: {type: Date, required: true, default: Date.now},
    hashtags: [{type: String, required: true, trim: true} ],
    meta:{
        views: {type: Number, default: 0},
        rating: {type: Number, default: 0},
    }
})

videoSchema.pre("save", async function () {
    console.log("hello im middleware");
    this.hashtags = this.hashtags[0]
    .split(',')
    .map((word) => word.startsWith('#') ? word : `#${word}`);
});

const Video = mongoose.model("Video", videoSchema);
export default Video;
위와 같이 mongoose에 model을 생성해주기 전에 videoSchema의 pre를 통해 middleware를 만들어주었다. 해당 pre 함수 안에서는 hashtag에 대한 처리를 해주고 있다.
export const postUpload = async(req, res) => {
    const {title, description, hashtags} = req.body;
    try{
        await Video.create({
        title,
        description,
        hashtags,
        });
        return res.redirect('/');
    }catch(err){
        return res.render("upload",{pageTitle: 'Upload Video', errorMessage: err._message});
    }
};
따라서 postUpload의 hashtags는 그냥 다음과 같이 .pre()에서 받아오는 대로 바꿔주었다.
#6.24 Statics
문제가 있다.
위에서 설정해준 middleware의 경우, save hook을 사용하였고, this를 통해 해당 문서에 접근할 수 있었다.
그러나 findByIdAndUpdate 경우 middleware를 사용하지도 못하고, 해당 문서에 접근할 수도 없다!
따라서 create와 update 모두에 해당 middleware를 사용하기는 적합하지 않다. 그러므로 삭제!
우리에겐 2가지 방법이 있다.
- formatting 해주는 함수를 Video.js에 선언하고 export해서 사용
export const formatHashtags = (hashtags) => { hashtags.split(',').map((word) => word.startsWith('#') ? word : `#${word}`); } - Static 사용
Static은 우리가 직접 Video model의 function을 커스터마이징 해주는 것이다.
videoSchema.static("formatHashtag", function (hashtags) {
    return hashtags
        .split(',')
        .map((word) => word.startsWith('#') ? word : `#${word}`);
});
다음과 같이 formatHashtag 함수를 만들면,
await Video.findByIdAndUpdate(id,{
        title,
        description,
        hashtags: Video.formatHashtag(hashtags),
    })
Video.formatHashtag로 함수를 사용할 수 있게 된다!
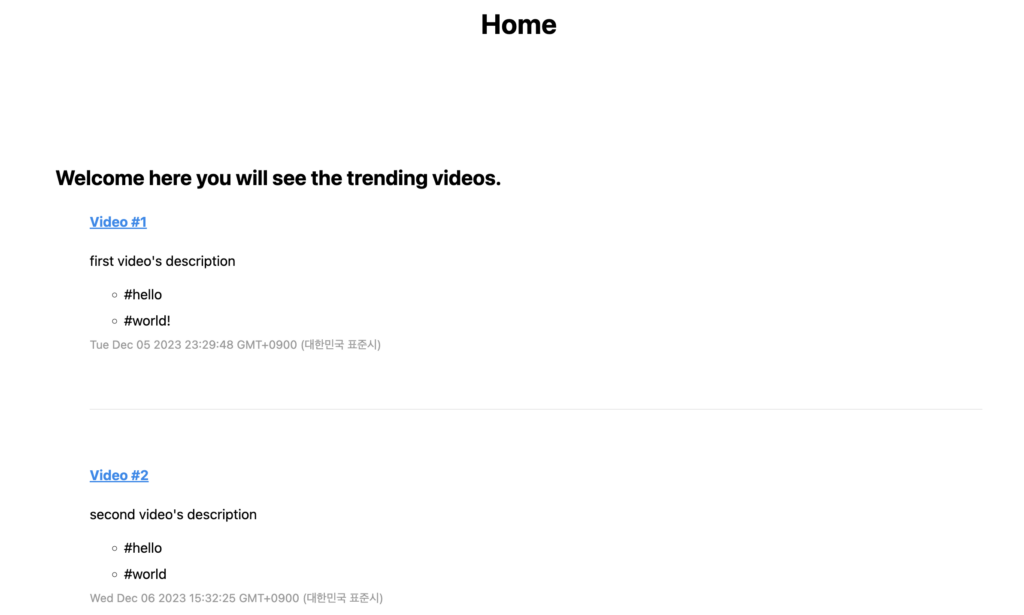
그리고 video.pug mixin을 다음과 같이 수정해주면,
mixin video(info)
    div
        h4
            a(href=`/videos/${info.id}`)=info.title
        p=info.description
        ul
            each hashtag in info.hashtags
                li=hashtag
        small=info.createdAt
        hr
home에서 각 비디오의 hashtag 들을 확인할 수 있다!
#6.25 Delete Video
- videoRouter.js에 route 추가해주기
import express from "express"; import { watch, getEdit, postEdit, getUpload, postUpload, deleteVideo } from "../controllers/videocontroller"; const videoRouter = express.Router(); videoRouter.route("/:id([0-9a-f]{24})").get(watch); videoRouter.route("/:id([0-9a-f]{24})/edit").get(getEdit).post(postEdit); videoRouter.route("/:id([0-9a-f]{24})/delete").get(deleteVideo); videoRouter.route("/upload").get(getUpload).post(postUpload); export default videoRouter; - videocontroller.js에 deleteVideo 함수 추가해주기
export const deleteVideo = async(req, res) => { const { id } = req.params; await Video.findByIdAndDelete(id) return res.redirect('/'); } - watch.pug 수정하기
extends base.pug

block content
    div
        p=video.description
        small=video.createdAt
    a(href=`${video.id}/edit`) Edit Video →
    br
    a(href=`${video.id}/delete`) Delete Video →
#6.26 Search
- globalRouter.js에 .get(’search’) 추가
import express from "express"; import { home, search} from "../controllers/videocontroller"; import { join, login } from "../controllers/usercontroller"; const globalRouter = express.Router(); globalRouter.get("/", home); globalRouter.get("/join", join); globalRouter.get("/login", login); globalRouter.get("/search", search); export default globalRouter; - videocontroller.js에 search 추가
export const search = async(req,res) => { const { keyword } = req.query; let videos = []; if(keyword){ videos = await Video.find({ title:{ $regex : new RegExp(keyword,'i') } }) } return res.render("search",{pageTitle: "Search Videos", videos}); } - search.pug 만들어주기
extends base.pug
include mixins/video

block content
    form(method='get')
        input(name='keyword', placeholder='Video Title',type='text',required, maxLength=80)
        input(type='submit', value='Search')

    hr
    each i in videos
        +video(i)
videocontroller.js의 search 함수를 보면 정규표현식 (regular expression, regex)을 사용하고 있다.
{title: {$regex : new RegExp(keyword, ‘i’)}}로 찾고 있는데, 이는 mongoDB에서 지원해주는 regex 옵션이라고 볼 수 있다.
keyword 뒤에 i 옵션을 줌으로써 keyword를 대문자, 소문자 구분 없이, 포함하고 있는 모든 title을 가져오게 된다.
추가로 다음과 같은 옵션이 있는데,
~로 시작하는 거 → ^{~}~로 끝나는 거 → {~}$를 추가로 줄 수 있다.
** 본 글은 노마드 코더의 ‘유튜브 클론코딩’ 강의를 참조하여 작성하였습니다. **