
#5.0 Returning HTML
response에 매번 html을 작성하여 send 해주는 것은 무리이다… 따라서 우리는 pug를 사용할 것이다!
#5.1, #5.2 Configuring Pug
npm i pug- app.set(”view engine”, “pug”);
- src 폴더 안에
views폴더 생성 - home.pug 작성
- pug로 작성한 파일을 보내면 알아서 html로 변환해줌. 우리는 html을 보게 됨.
- res.render(”home”) → but error!
이유는, 우리가 /wetube 폴더에 있는 package.json에서 nodeJs를 실행시키고 있기 때문에 작업 디렉토리 역시 /wetube가 된다. /wetube/views가 없기 때문에 파일을 찾지 못하고 에러가 발생한다.
해결 방법 →
- default 변경 : views 폴더를 src 폴더 밖으로 꺼낸다. → 비추
- app.set(”views”, process.cwd() + “/src/views”);로 세팅 해주기 → 개추
pug를 사용하는 것의 장점 → 반복을 줄일 수 있다!
doctype html
html(lang="ko")
    head
        title Wetube!
    body
        h1 Welcome to Wetube
        footer © #{new Date().getFullYear()} Wetube
자바스크립트 코드를 실행하고 결과로 바꿔서 html을 보내준다.
→ 유저는 자바스크립트 코드를 확인할 수 없음!
그런데 위의 footer와 같은 요소를 모든 파일에 복붙하기는 힘들 것이다.
반복을 피하자 → partial
views 폴더 안에 partial 폴더를 새로 만들어준다.
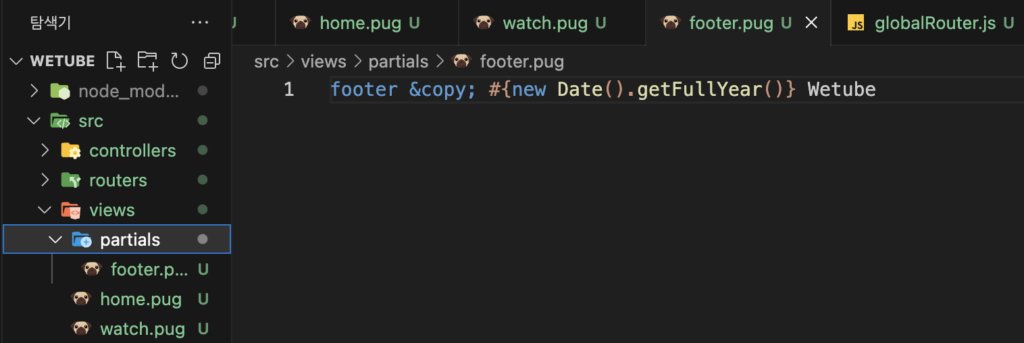
위처럼 계속 반복되는 footer를 작성해놓고,
doctype html
html(lang="ko")
    head
        title Wetube!
    body
        h1 Watch videos
        include partials/footer.pug
이를 각각의 pug 파일에 include 시켜주면 된다. 이렇게 하면 모든 파일에 업데이트를 일괄적으로 적용시킬 수 있다.
그런데 또 include ~ 를 계속 반복하는 것이 싫을 수 있잖아? 이에 대한 해결 방법은 다음 시간에…
#5.3 Extending Templates
상속(inheritance)을 사용하자! base를 만들어주는 거임.
doctype html
html(lang="ko")
    head
        title Wetube!
    body
        h1 Base!
        include partials/footer.pug
위와 같이 base.pug를 하나 선언해주고,
extends base.pug
모든 파일(edit.pug, watch.pug, home.pug)에 위를 선언해준다.
block → base.pug에 수정가능한 공간을 만들어준 것임.
doctype html
html(lang="ko")
    head
        block head
    body
        block content
        include partials/footer.pug
위와 같이 head, content가 들어갈 block 공간을 만들어주었다.
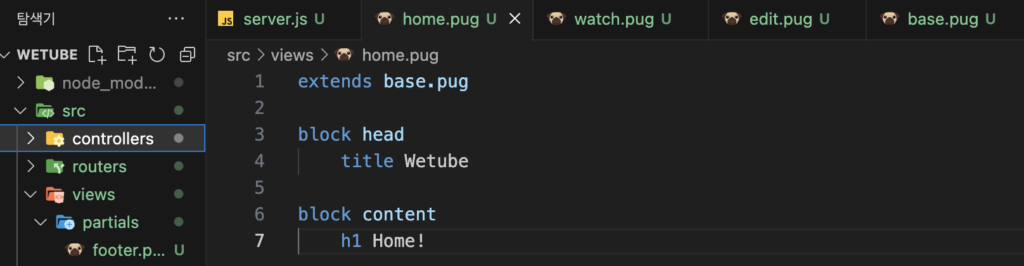
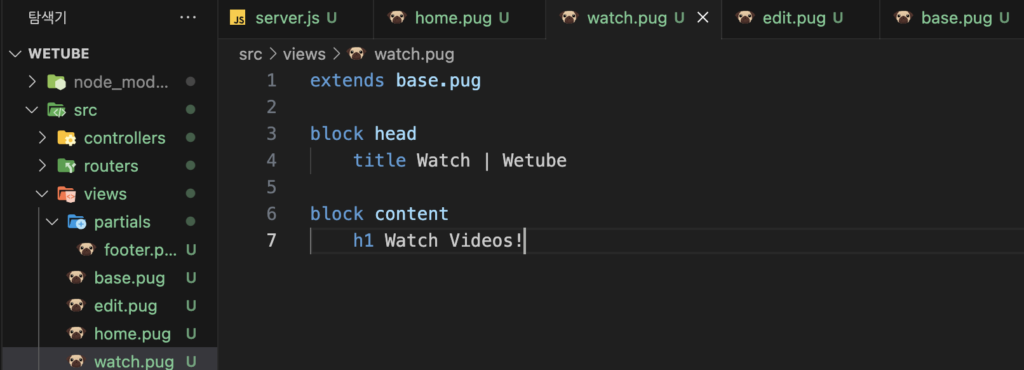
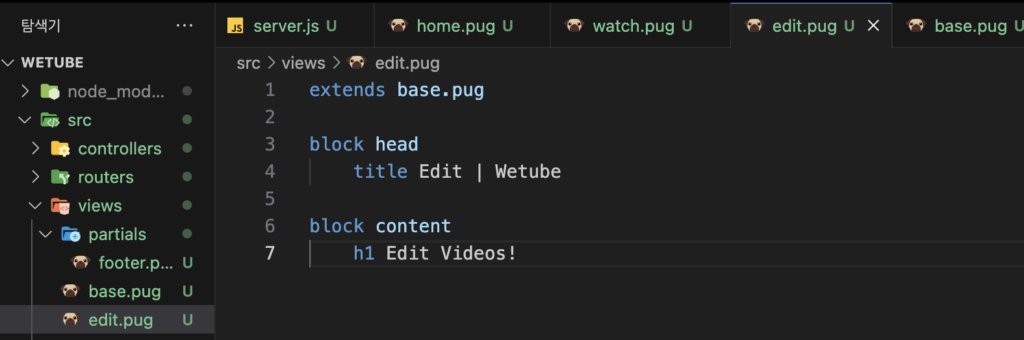
그 다음 각각의 pug에 block에 들어갈 값을 넣어주면 된다.
적용된 것을 확인할 수 있다!
그런데 아직도 여러군데 반복을 확인할 수 있다. 다음 시간에 반복을 더 줄여보자.
#5.4 Variables to Templates
block을 반복하는 작업도 줄여보도록 하자.
우리는 변수를 사용할 수 있다.
doctype html
html(lang="ko")
    head
        title #{pageTitle} | Wetube
    body
        block content
        include partials/footer.pug
그리고 해당 파일을 렌더링해주는 contorller의 res.render에 변수를 넣어주면 된다!
export const trending = (req, res) => {return res.render("home", {pageTitle: "Home"})};
위처럼 해주면 변수가 적용된다.
#5.6 MVP Styles
MVP.css → html 요소를 예쁘게 만들어줘!
doctype html
html(lang="ko")
    head
        title #{pageTitle} | Wetube
        <link rel="stylesheet" href="https://unpkg.com/mvp.css">
    body
        block content
        include partials/footer.pug
base.pug에 다음과 같이 mvp.css의 링크를 넣어준다.
임시방편으로 해주는 것. 너무 못생기게 만들면 별로니까….
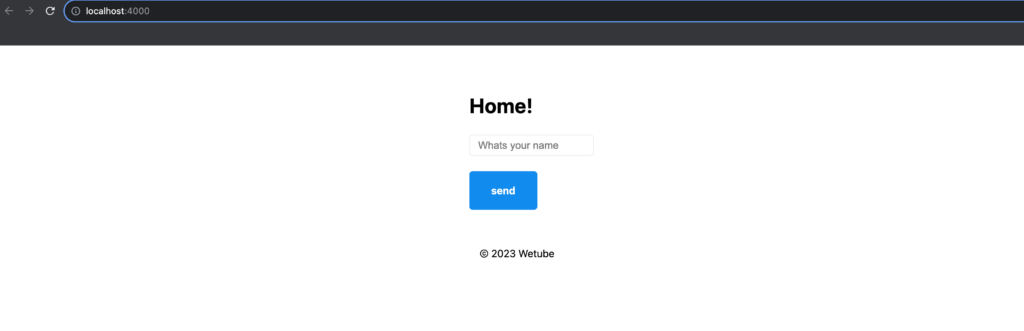
훨씬 예쁘지!
#5.7 Conditionals
pug에서도 역시 if, else 등을 사용할 수 있다.
h1 뒤에 =을 붙이고 변수이름을 적으면 #{pageTitle}과 동일한 효과가 된다.
body
    header
          h1=pageTitle
위와 같이 선언해주면, h1은 단 하나의 variable만을 가지게 된다!
차이점은, =으로 선언해주면 다른 text와 같이 쓸 수 없고 변수만을 가지게 된다.
doctype html
html(lang="ko")
    head
        title #{pageTitle} | Wetube
        <link rel="stylesheet" href="https://unpkg.com/mvp.css">
    body
        header
            nav
                ul
                    li
                        a(href="/login") Log out
                    li
                        a(href="/login") Log in
            h1=pageTitle
        main
            block content
    include partials/footer.pug
위와 같이 log in, log out 버튼을 만들어준다고 생각해보자.
우리는 조건에 따라 login 버튼을 보여줘야 할 때도 있을 것이고, logout 버튼을 보여줘야 할 때도 있을 것이다.
이를 하기 전에 먼저 videocontroller.js에 다음과 같은 user 객체를 만들어주자.
const fakeUser = {
    username : "jin",
    loggedIn : false
}

export const trending = (req, res) => {return res.render("home", {pageTitle: "Home", fakeUser: fakeUser})};
그리고 해당 fakeUser 객체의 값을 통해 조건문을 만들어주었다.
body
    header
        nav
            ul
                if fakeUser.loggedIn
                    li
                        a(href="/login") Log out
                else
                    li
                        a(href="/login") Log in
#5.8 Iteration
export const trending = (req, res) => {
    const videos = [1, 2, 3, 4, 5, 6, 7, 8, 9, 10];
    return res.render("home", {pageTitle: "Home", videos})};
videocontroller.js에 위처럼 videos 배열을 선언해주고,
extends base.pug

block content
    h2 Welcome here you will see the trending videos.
    ul
        each video in videos
            li=video
home.pug에 다음과 같이 each를 사용해 객체에서 반복해준다.

만약 배열이 비어있다면 each, else를 활용해서 해당 상황까지 처리해줄 수 있다. pug는 대단해!
또한, each video, idx in videos로 접근하면 idx를 알아서 처리할 수 있다.
export const trending = (req, res) => {
    const videos = [
        {
            title: "Video #1"
        },
        {
            title: "Video #2"
        },
        {
            title: "Video #3"
        }
    ];
    return res.render("home", {pageTitle: "Home", videos})};
위처럼 배열에 객체를 넣어주는 방법도 존재한다.
#5.9 Mixins
partials과 비슷한 개념이다. 그런데 데이터를 받을 수 있는 Partials이다!
블록이 같은 형태를 지니지만 데이터를 받아야 하는 경우! (footer는 데이터를 받을 필요는 없잖아)
export const trending = (req, res) => {
    const videos = [
        {
            title: "Video #1",
            rating: 5,
            comments: 2,
            createAt: "2 minutes ago",
            views: 59,
            id: 1,
        },
        {
            title: "Video #2",
            rating: 5,
            comments: 2,
            createAt: "2 minutes ago",
            views: 59,
            id: 2,
        },
        {
            title: "Video #3",
            rating: 5,
            comments: 2,
            createAt: "2 minutes ago",
            views: 59,
            id: 3,
        }
    ];
    return res.render("home", {pageTitle: "Home", videos})};
먼저 위와 같이 객체를 풍성하게 만들어주었다.
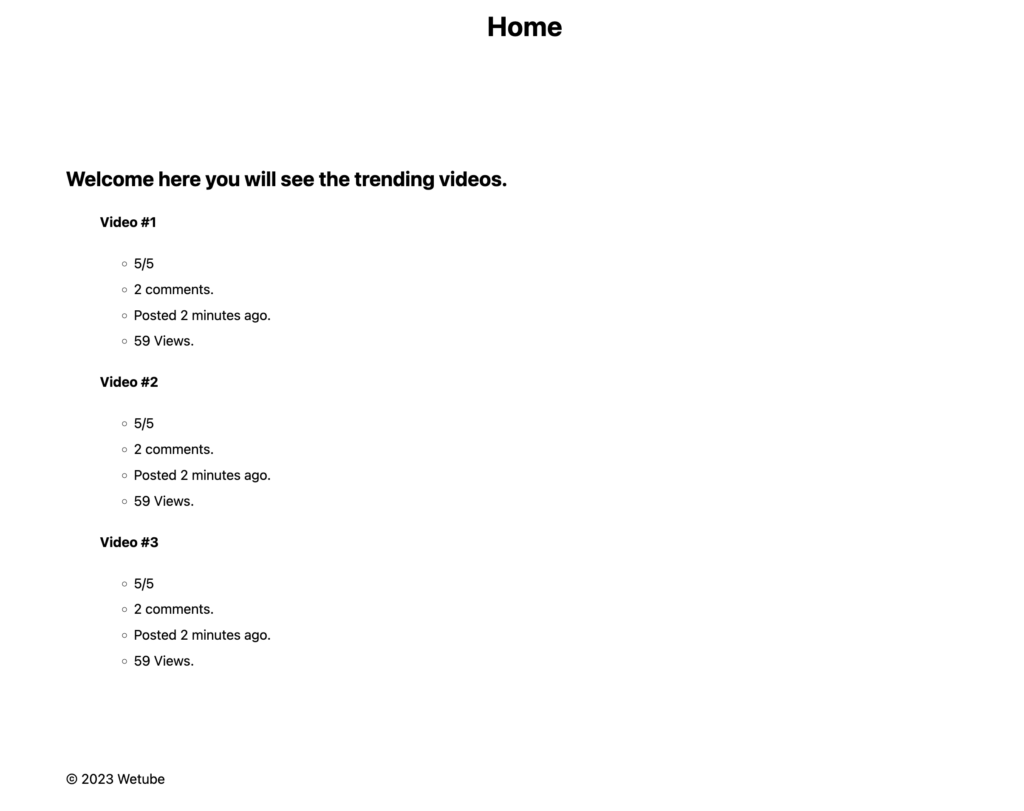
그리고 home.pug 역시 수정해주었다.
extends base.pug

block content
    h2 Welcome here you will see the trending videos.
    ul
        each video in videos
            div
                h4=video.title
                ul
                    li #{video.rating}/5
                    li #{video.comments} comments.
                    li Posted #{video.createAt}.
                    li #{video.views} Views.
        else
            li Sorry nothing found.
이제 해당 구조를 mixin으로 만들어보자.
데이터를 받을 수 있는 미리 만들어진 HTML Block이다!!!
mixin video(info)
    div
        h4=video.title
        ul
            li #{video.rating}/5
            li #{video.comments} comments.
            li Posted #{video.createAt}.
            li #{video.views} Views.
위와 같이 mixin을 만들어주고,
extends base.pug
include mixins/video

block content
    h2 Welcome here you will see the trending videos.
    ul
        each i in videos
            +video(i)
        else
            li Sorry nothing found.
home.pug는 위처럼 바꿔주었다.
** 본 글은 노마드 코더의 ‘유튜브 클론코딩’ 강의를 참조하여 작성하였습니다. **